什么是 Hexo?
Hexo 是一个快速、简洁且高效的博客框架。Hexo 使用 Markdown(或其他渲染引擎)解析文章,在几秒内,即可利用靓丽的主题生成静态网页。
安装 Hexo 相当简单
然而在安装前,您必须检查电脑中是否已安装下列应用程序:
- Node.js
https://nodejs.org/dist/v10.13.0/node-v10.13.0-x64.msi(Winx64) - Git
https://github.com/git-for-windows/git/releases/download/v2.19.1.windows.1/Git-2.19.1-64-bit.exe(Win x64)
输入 :
1 | node -v |
检查Node.js 和 Git 是否 安装成功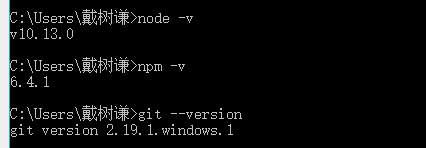
在此处,如果Node.js 版本低,在后面的搭建过程中无法顺利执行,建议各位在官网下载最新版本;Git如果没有加入环境变量需要将Git添加到环境变量
在自己认为合适的位置创建一个个文件夹,我的是E:\Personal-blog\hexo ,在命令行界面进入该文件夹,然后使用 npm 即可完成 Hexo 的安装
1 | npm install -g hexo-cli |

安装完成,可能会有WARN,但不会影响正常使用
然后输入:
1 | npm install hexo --save |
在这一步时,我遇到如下报错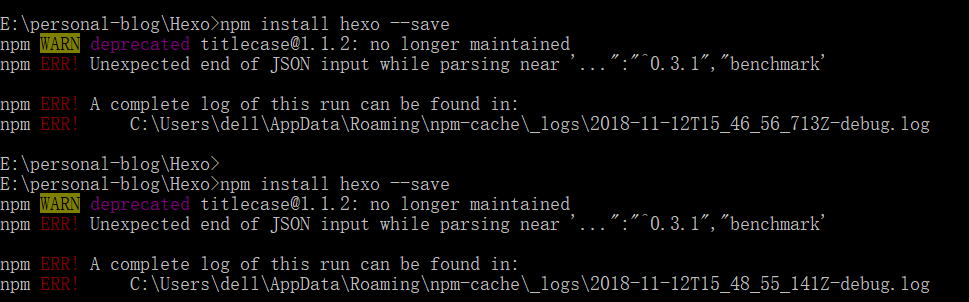
1
2
3
4
5npm WARN deprecated titlecase@1.1.2: no longer maintained
npm ERR! Unexpected end of JSON input while parsing near '...":"^0.3.1","benchmark'
npm ERR! A complete log of this run can be found in:
npm ERR! C:\Users\dell\AppData\Roaming\npm-cache\_logs\2018-11-12T15_46_56_713Z-debug.log
解决办法:
更新npm源即可
1 | npm config set registry https://registry.npm.taobao.org |
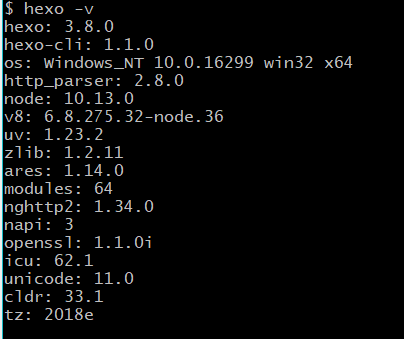
Hexo安装完成,检测是否正确安装
1 | hexo -v |
Hexo的配置
在当前目录下新建一个名为blog的文件夹,用于存放博客网站的信息
在命令行进入blog,初始化该文件夹,并安装所需组件
1 | hexo init |
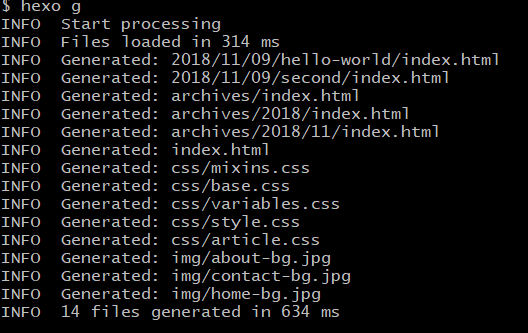
安装完成后,检测是否安装成功
1 | hexo g |
1 | hexo s |

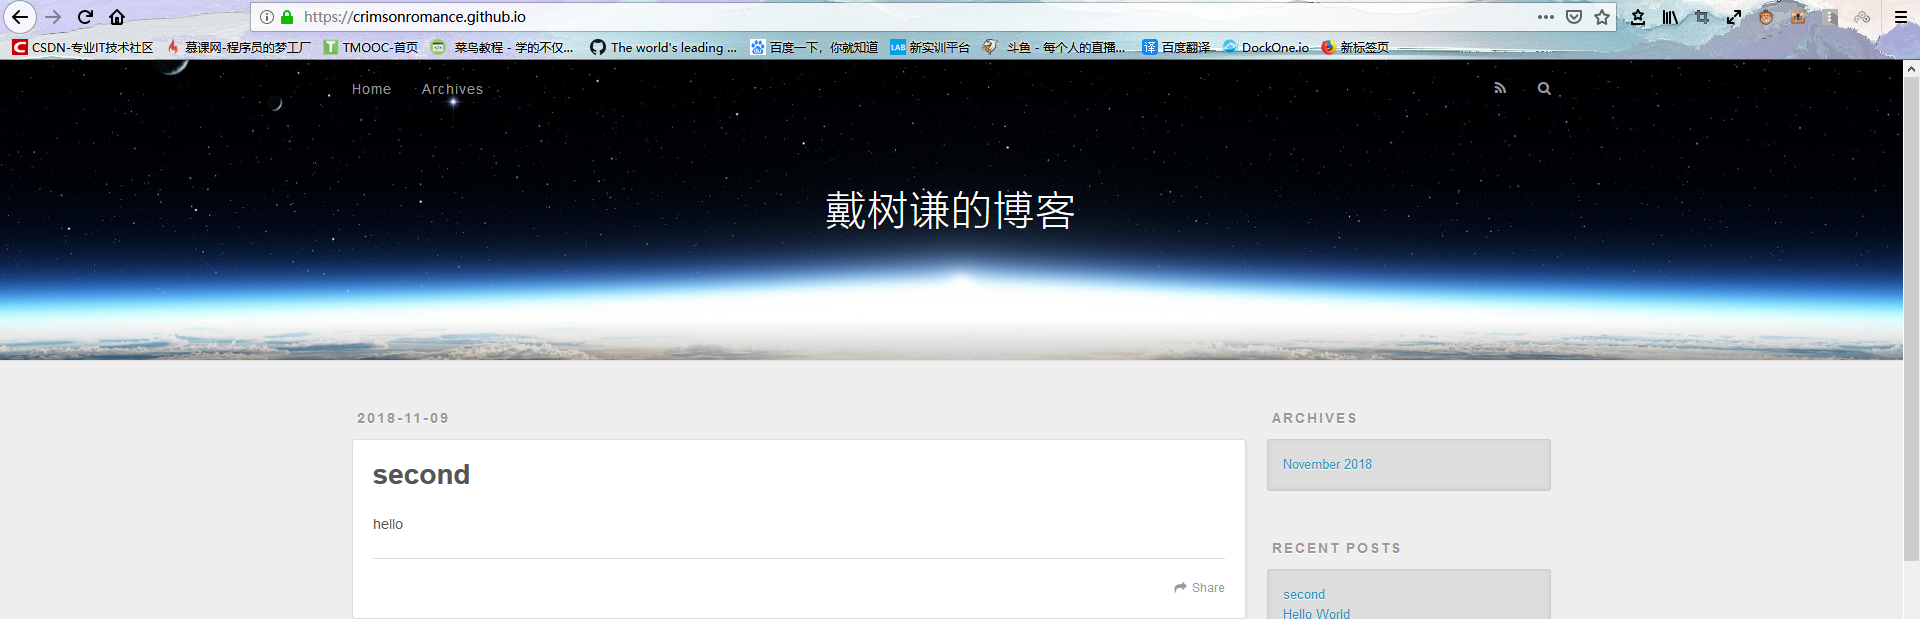
根据提示访问https://localhost:4000/
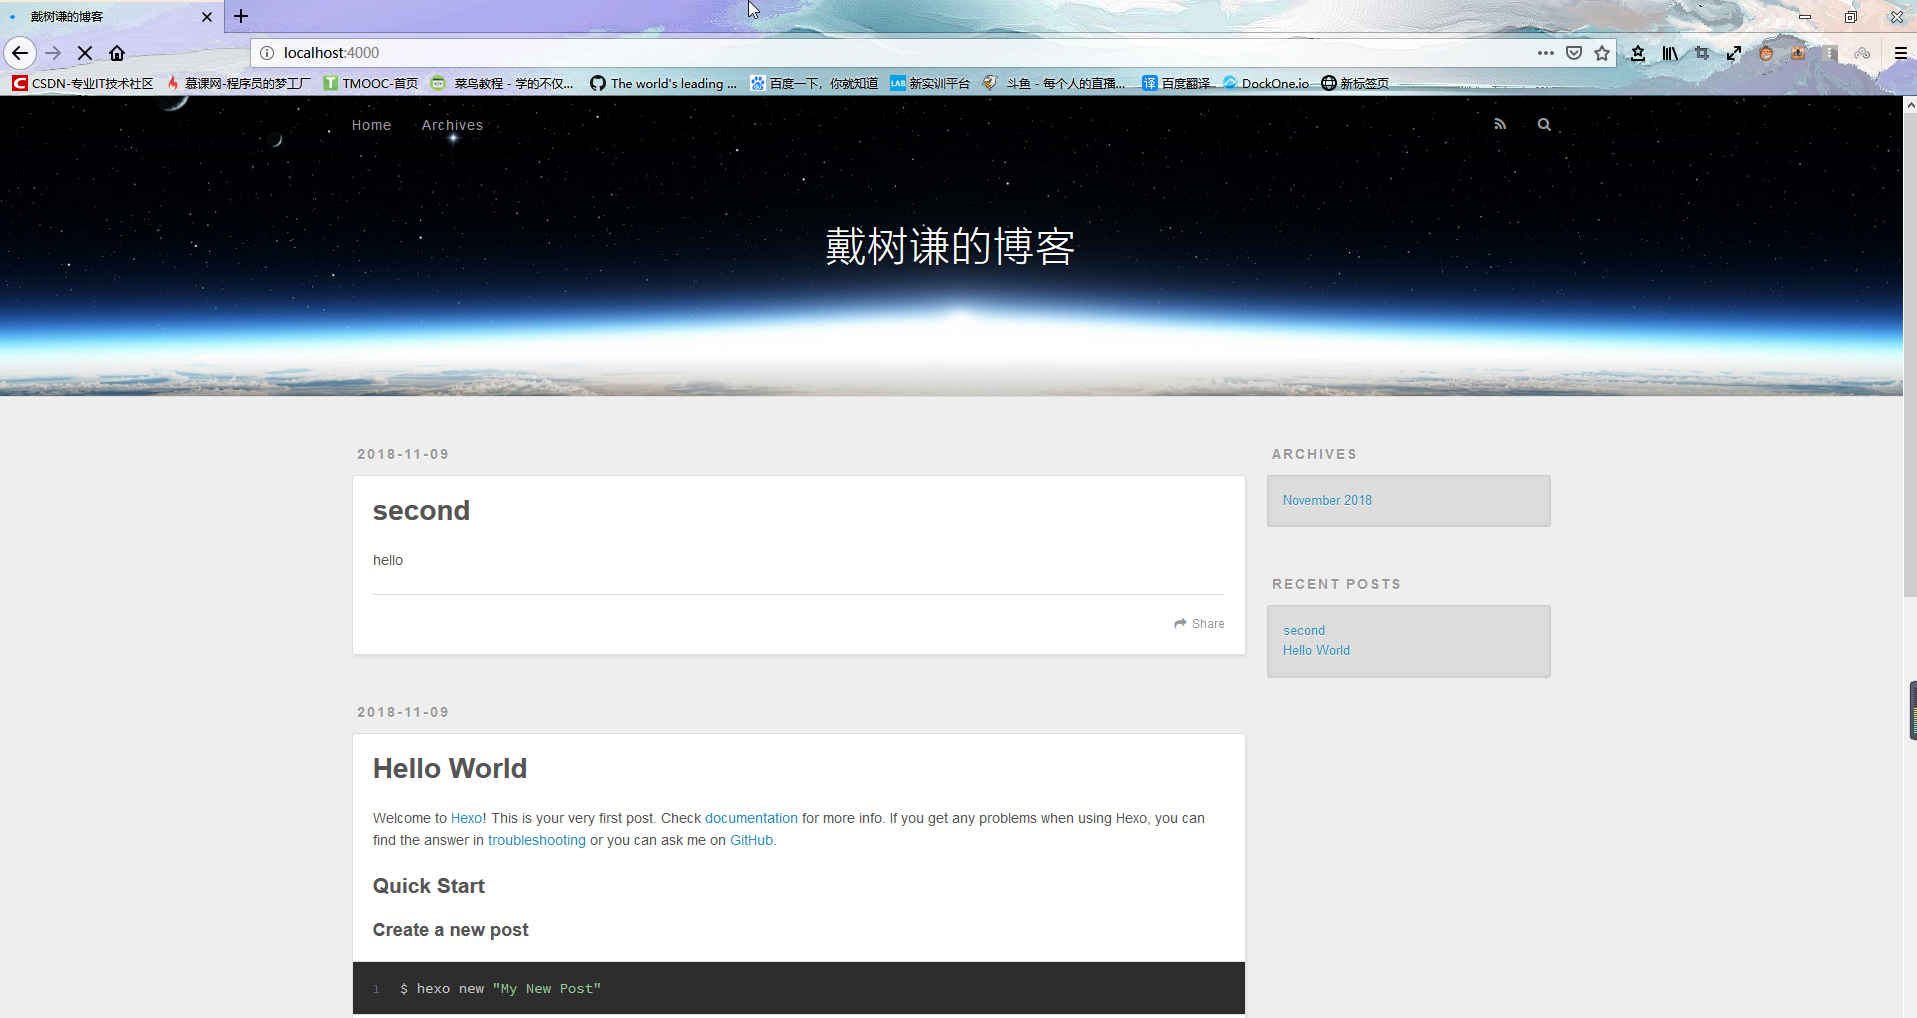
出现该界面说明Hexo在本地的配置完成了。(因为我改了配置文件,所以显示出我的名字,原位置应为Hexo)
注册GitHub账号与配置
https://github.com/
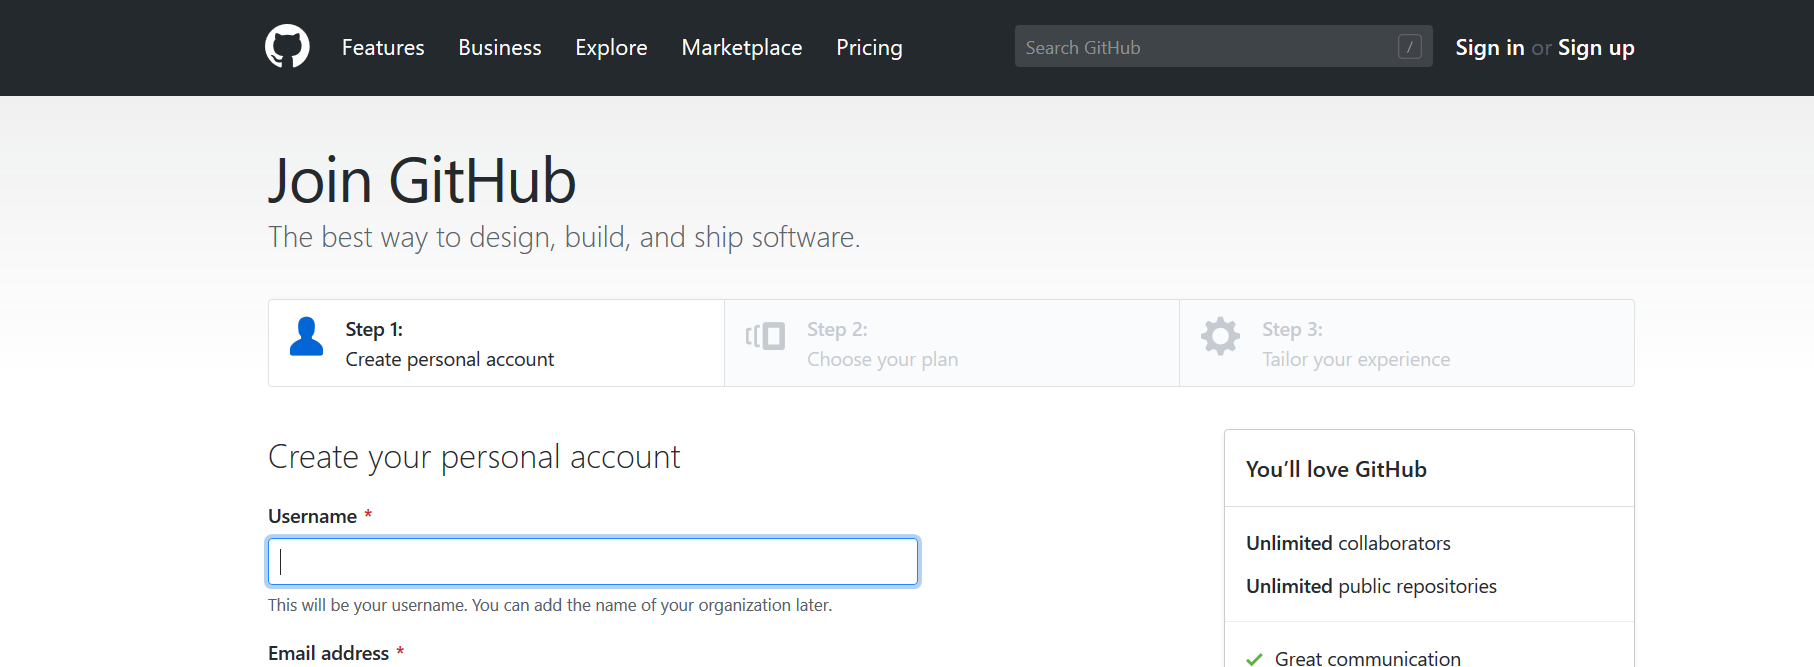
进入网站后,点击Sign up 进行注册, 填写自己的用户名,邮箱,密码(邮箱后面会用到验证账户)
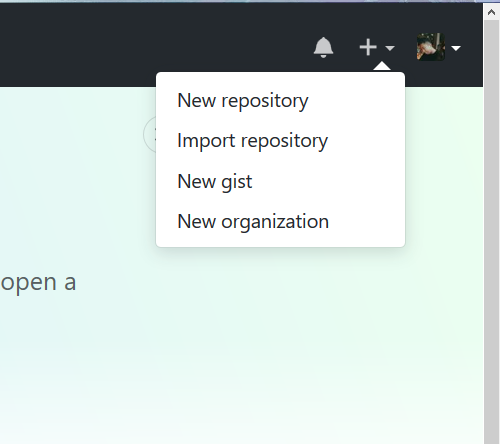
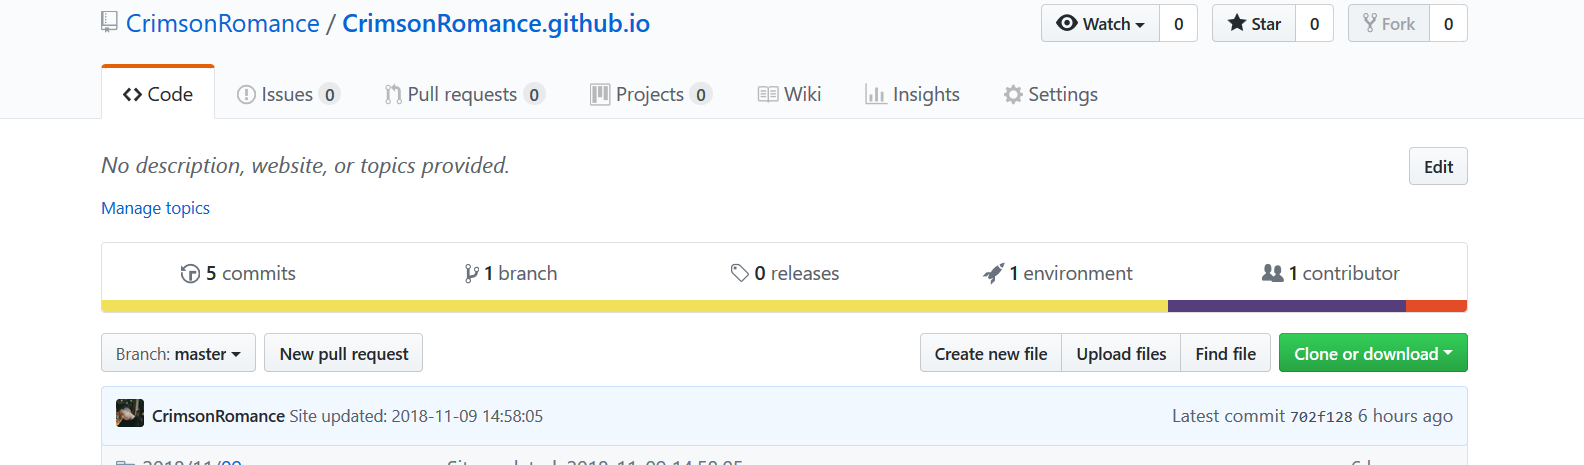
注册完成后,新建代码仓库
点击网页右上角”+” 中的New repo ,新建仓库
在该界面输入仓库名,描述信息,选择共有或私有仓库
注意仓库名要和你的用户名一致(yourname.github.io),否则后面会访问错误
创建完成后会自动显示你的仓库界面
点击选项栏 Setting ,向下拖至此处,将none 选项选为第一个选项,开启GitHub Pages功能 并Save,可以暂时Change theme,以供暂时访问,但是后面我们使用的是Hexo主题,两者并不冲突
一段时间后即可看到提示创建成功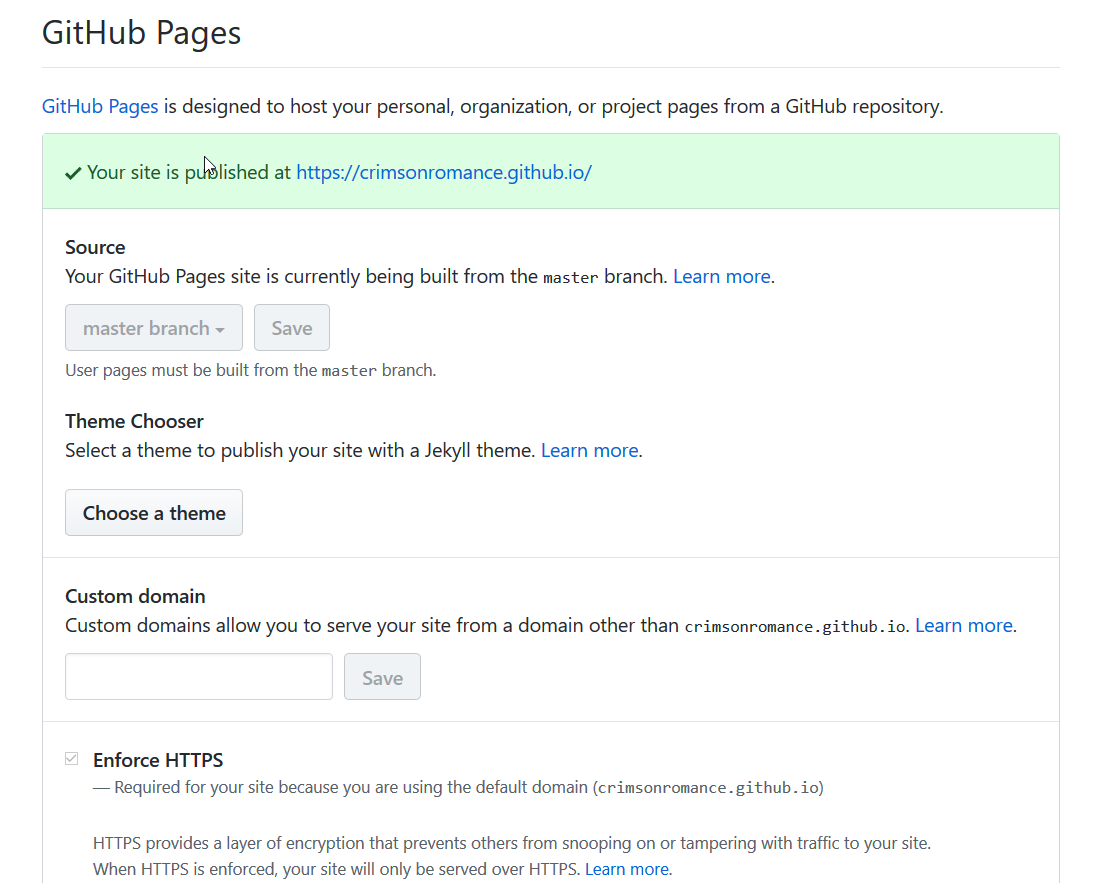
那么Github一侧的配置已经全部结束了。
将GitHub Page与Hexo关联
配置Git个人信息
1 | git config --golbal user.name "username" |
可以看到如下信息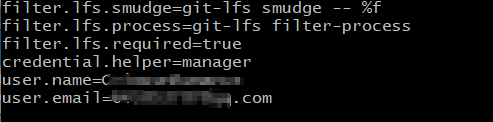
在合适的位置新建文件夹daemon ,进入到该文件夹中
右击进入 Git Bash
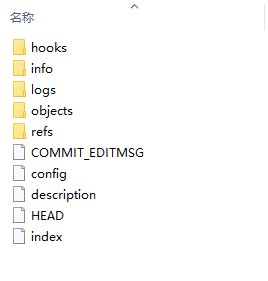
1 | $ git init |
该命令将创建一个名为 .git 的子目录,这个子目录含有你初始化的 Git 仓库中所有的必须文件,这些文件是 Git 仓库的骨干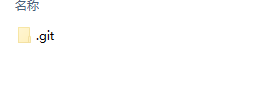
在Git bash中
1 | cd ~/.ssh |

就可以看到你自己的公钥,复制下来,进入Github的个人设置界面
点击New Ssh Key
将密钥粘贴上,添加就可以了
1 | ssh -T git@github.com |

成功。
编辑 hexo下的blog下的_config.yml
1 | # Deployment |
编辑daemon.git 下的config
1 | [core] |
然后进入 hexo\blog ,右击进入 git bash
1 | hexo g // 生成 |
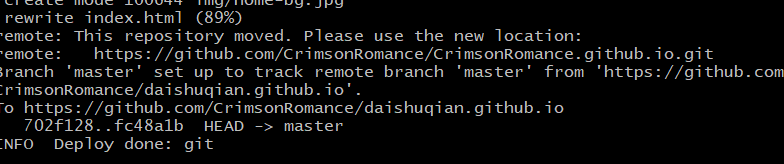
如果在 hexo d 出现下面的 错误,
1 | npm install --save hexo-deployer-git |
安装此扩展即可 ,然后重新 hexo g , hexo d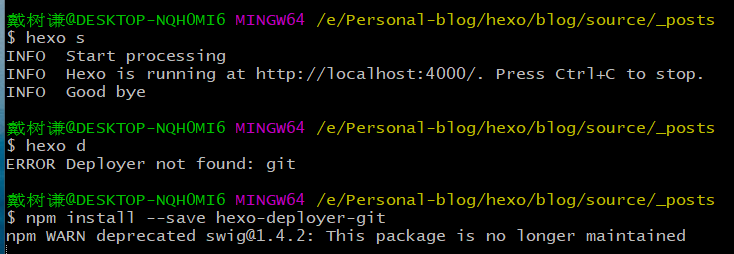
然后访问网站(https://youname.github.io/)即可